Eaton 54 Series Rotating Group
Eaton 54 Series Rotating Group
February 2, 2022 Comments Off on Eaton 54 Series Rotating GroupBefore you put the parts back together, always clean the parts and air dry them. Don’t use any sandpaper on the parts. And you will always need to replace gaskets and o rings. When you put o rings on use some kind of grease. When cleaning use fresh hydraulic fluid, helps on start up.
Put the retainer plate on and pistons down in and on the barrel. Make sure to grease the bearing plate.
When you check for fixed clearance using a feeler gauge, put it in between the retaining strap and retainer plate. You might damage the piston shoe if you face it wrong by putting the gauge between the piston shoe and thrust plate. Fixed clearance don’t need to go over .008 of an inch. If you go over this make sure to replace parts, as they will be worn out.

A. spacer height
B. Shoe flange and retainer plate
C. Fixed clearance
Make sure if you use loctite, to put it where you want it. If you get it in other parts and it dries. Also if you are putting it on the threads, do it like 15 minutes ahead of time.. if long than that you will have to put more on.
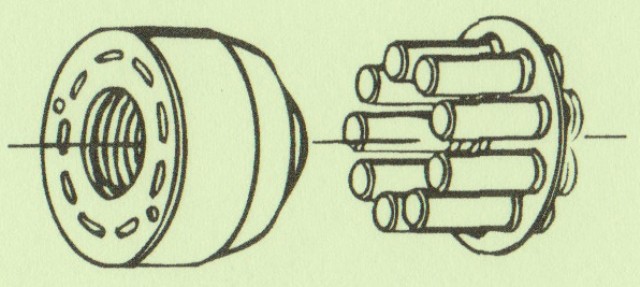
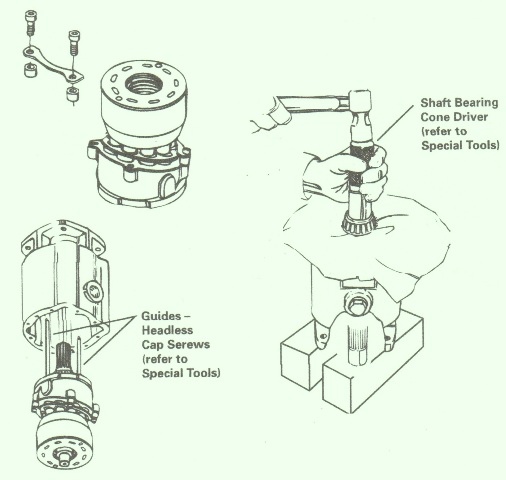
Put some loctite on the threads of the holes on the swashplate. Grease and put the thrust plate on and make sure to align the cap screws up. Put the spacers, retaining strap or link, then the screws on the side of the swashplate. With the piston shoe going up, put the cylinder barrel on very carefully. Next lift up the side, but don’t disturb the retaining strap and put the swashplate over it so the retaining strap goes around the piston shoe.
You will need to put the cylinder barrel with swashplate, make sure to grease it and output drive shaft (put that on next). The 5-6 screws will be needed next in the swashplate as a guide.
Align the pin in the housing that has the notch on the swashplate. When putting it on over the drive shaft to be careful doing so. While you are keeping the cylinder barrel in the housing, put motor on it’s side, take out the screws that were used as a guide. Put washers on that seal the two swashplates. Tighten them up, but don’t over torque it.
While you are holding the motor in the right position on the mounting flange and raise the output shaft just a bit. Sometimes you will need to use a press or maybe a bearing cone driver to put in the end cover bearing cone on the output shaft. The bearing cone needs to be flush up against the shoulder of the shaft.

If you need more info on this unit, call us at 800-361-0068
sales@htsrepair.com